DIY tutorials
Create your own accessories! Follow the steps below and turn your style into a statement.

2:45
Friendship Bracelet Kit

8:14
3-in-1 Jewelry Kit
0:29
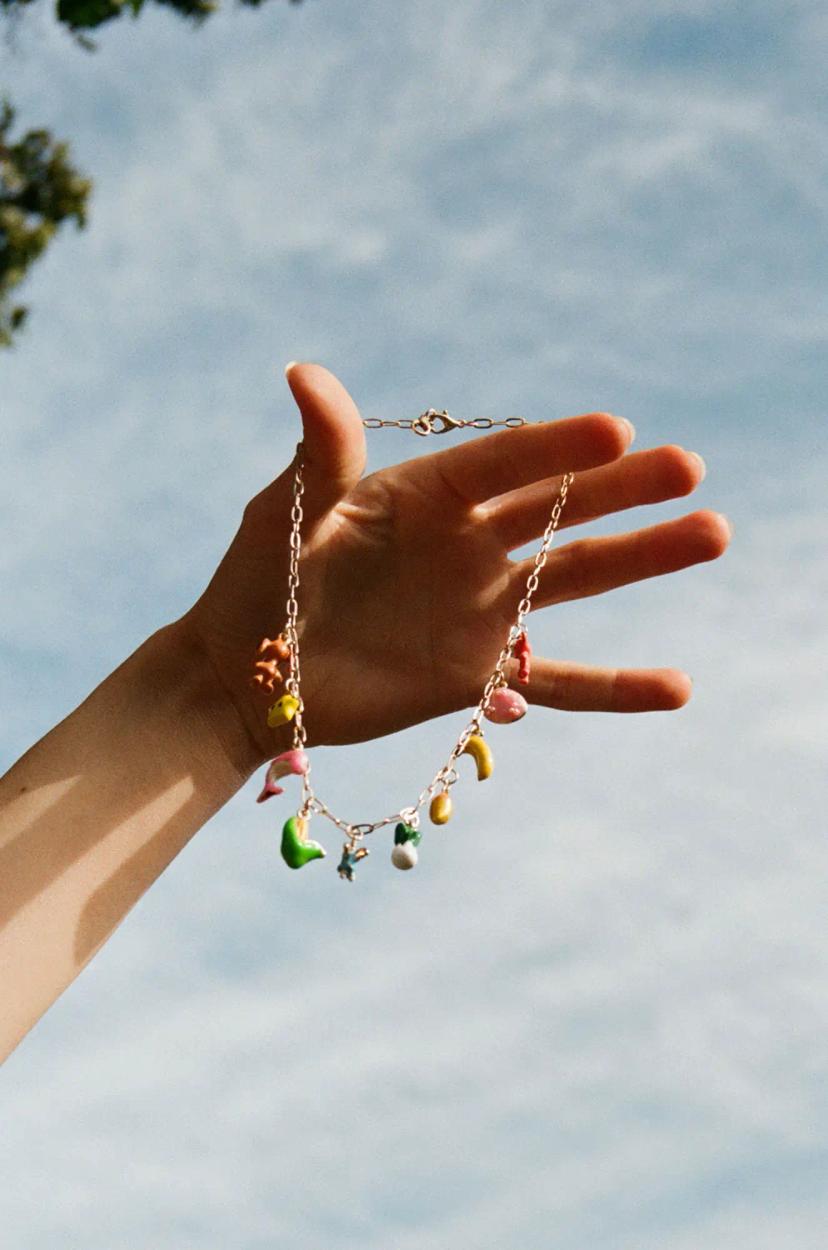
Jewelry with charms
0:21
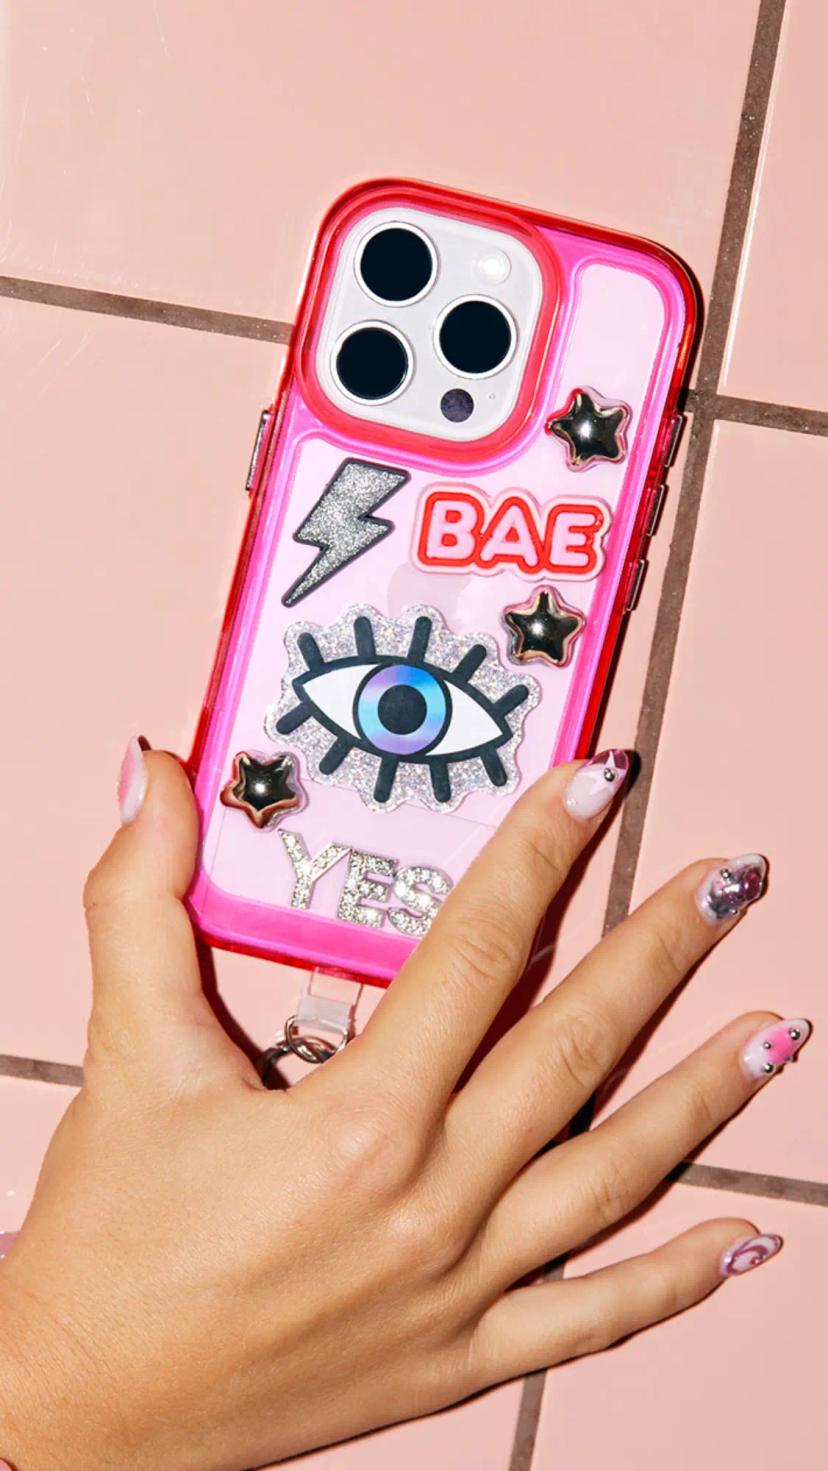
Phone Case
0:41
Piercing
0:16
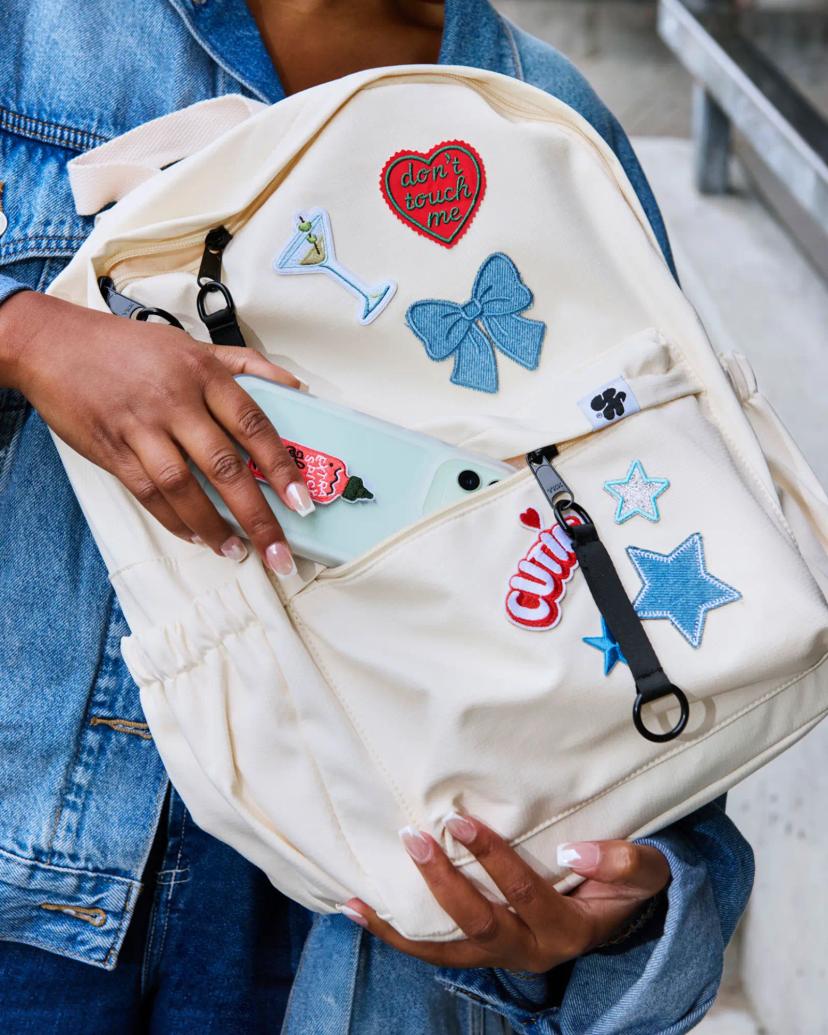
Backpack
0:35
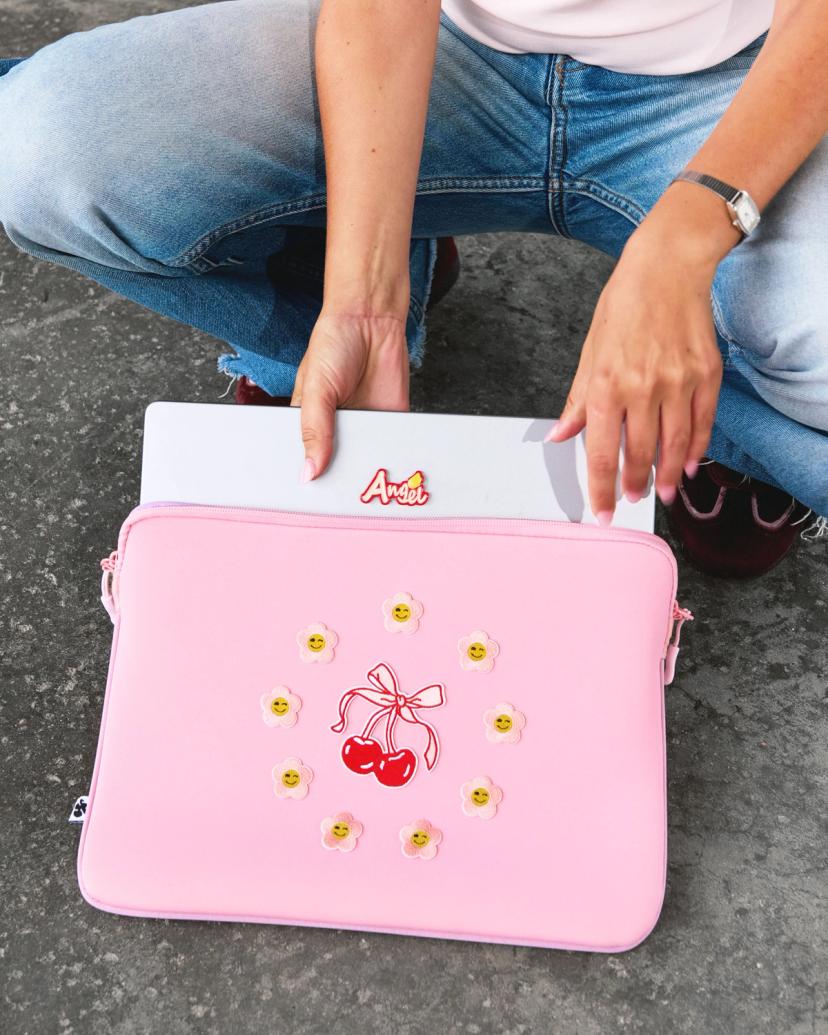
Laptop case
0:16
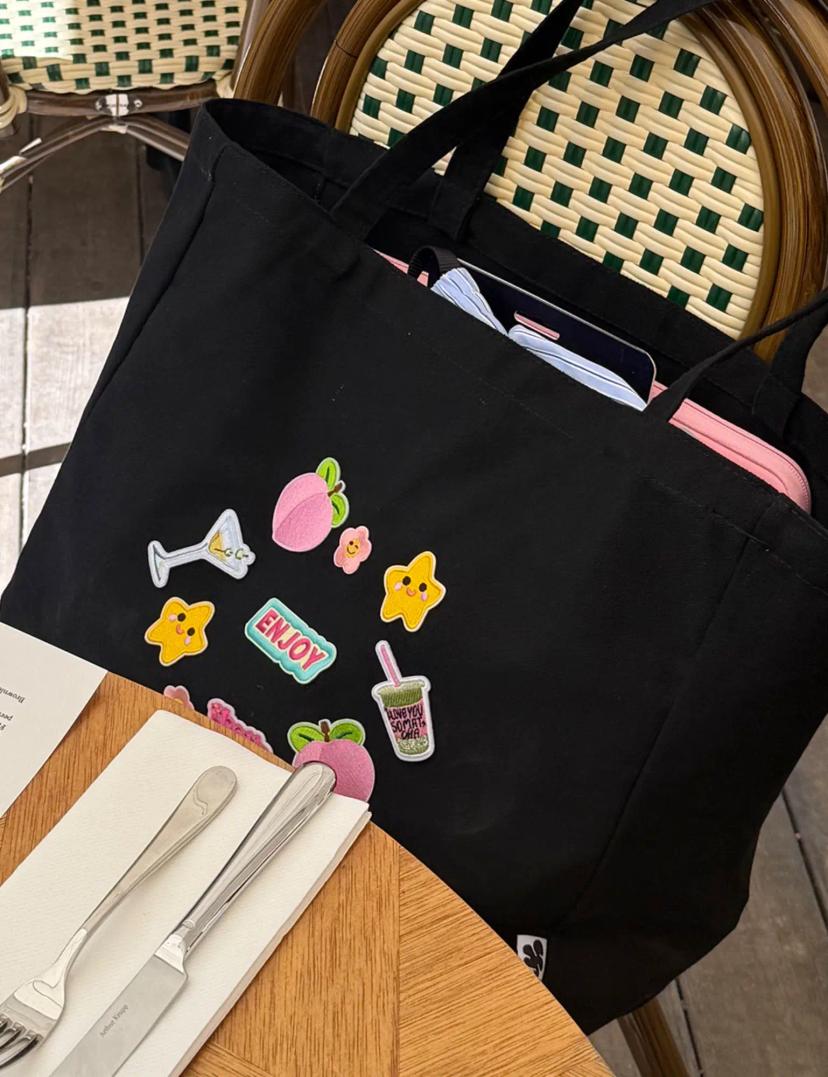
Tote Bag

0:26
Hats & caps
0:37
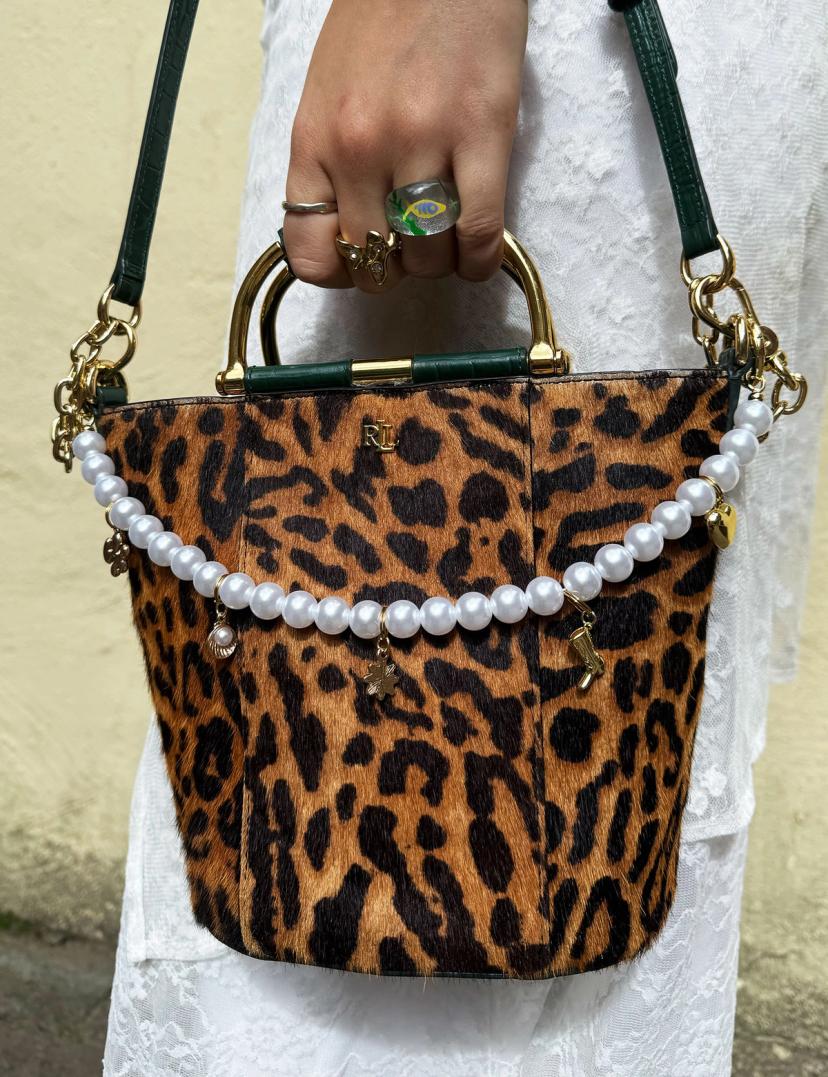
Bag Chain

1:32
Bead it yourself: Bracelet & Necklace (Pro)
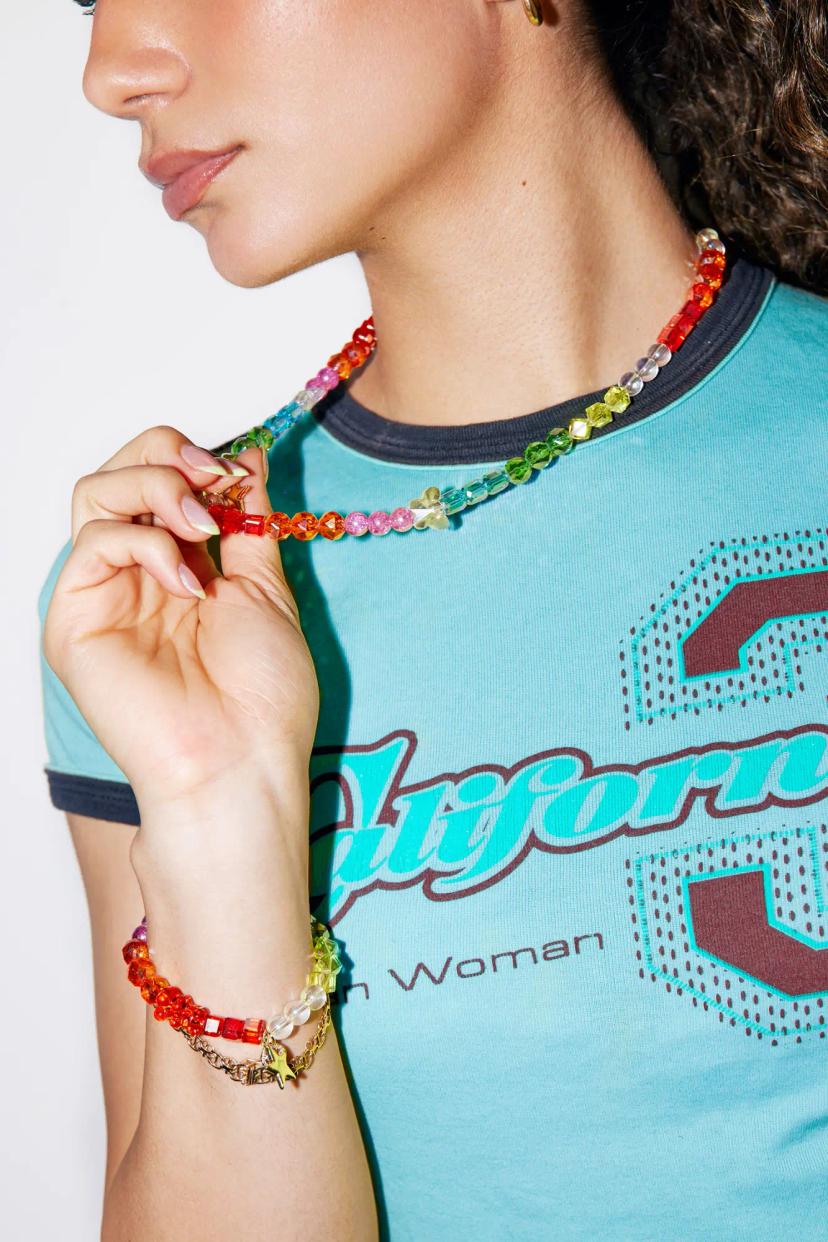
0:27
Bead it yourself: Bracelet & Necklace (Easy)

3:19
Bead it yourself: Phone Bracelet
Your style, your design – create something no one else has! 🌈
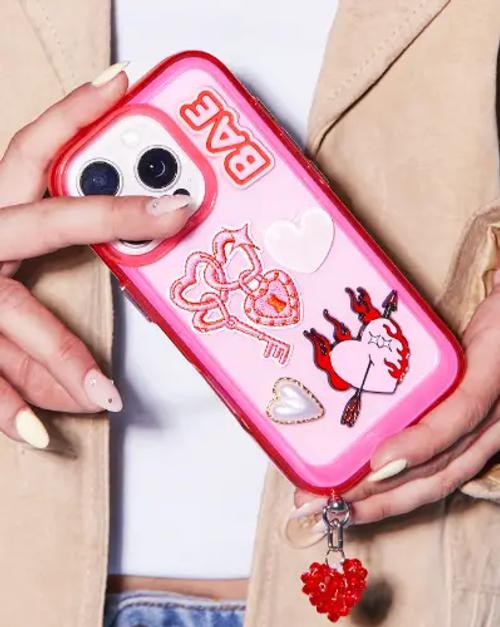
Design Phone CaseDesign nowDesign phone case
5 DRMZ® + Case £34.90
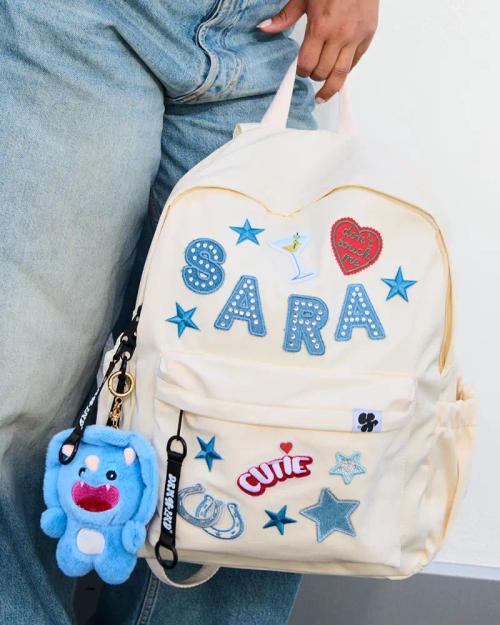
Design BackpackDesign nowDesign backpack
5 DRMZ® + Backpack £49.90
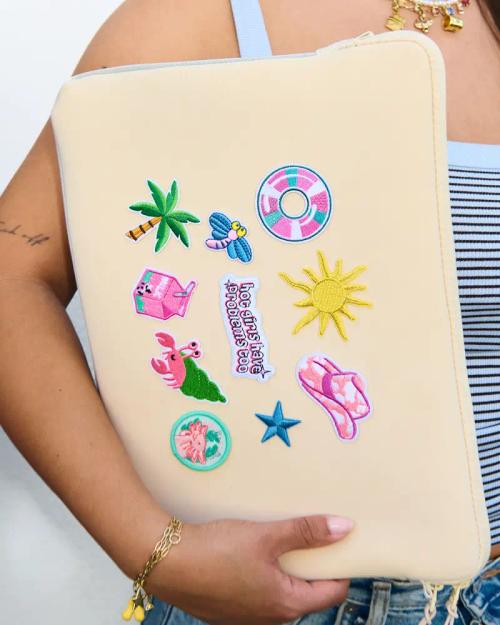
Design Laptop CaseDesign nowDesign laptop case
5 DRMZ® + Laptop case £44.90

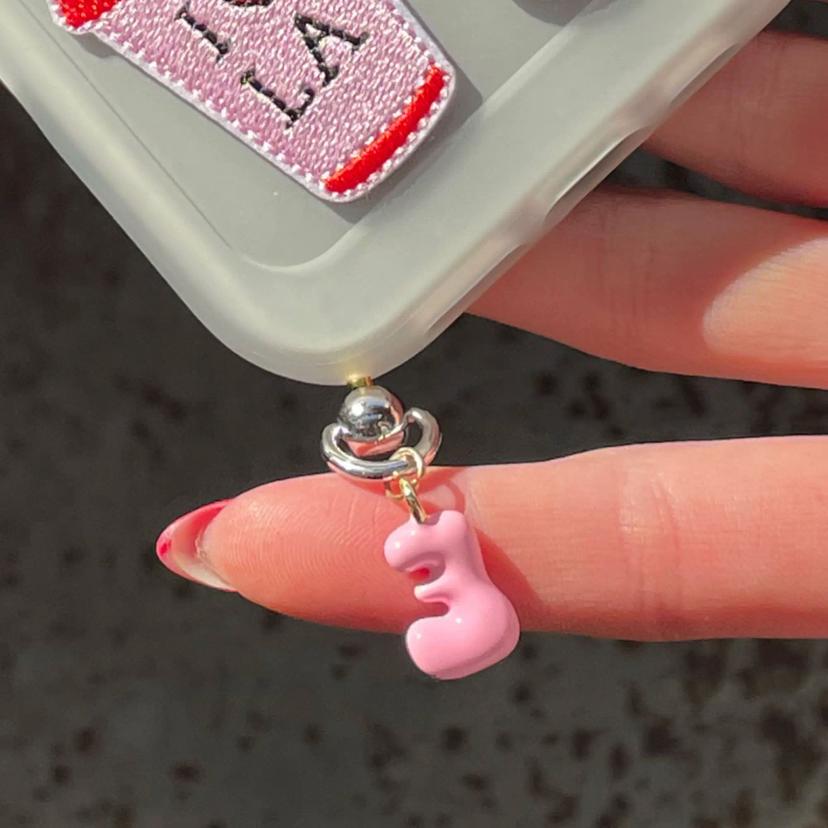
Bag CharmsBag CharmsBag Charms
Bag Charms £14.90
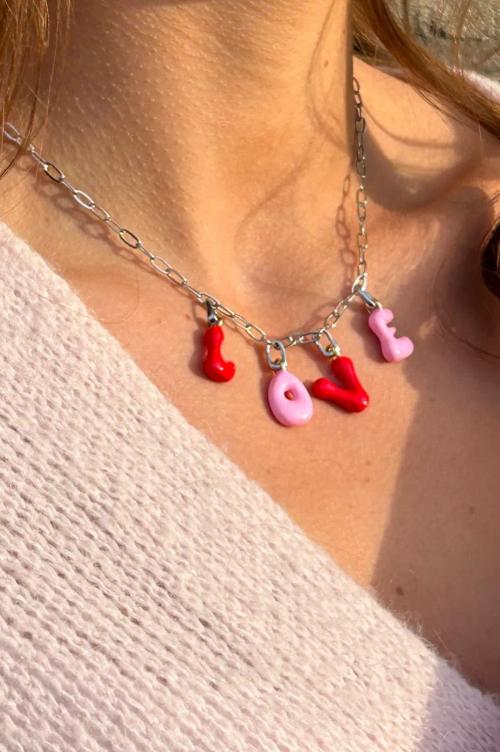
Design NecklaceDesign nowDesign Necklace
5 Charms + Chain £24.90
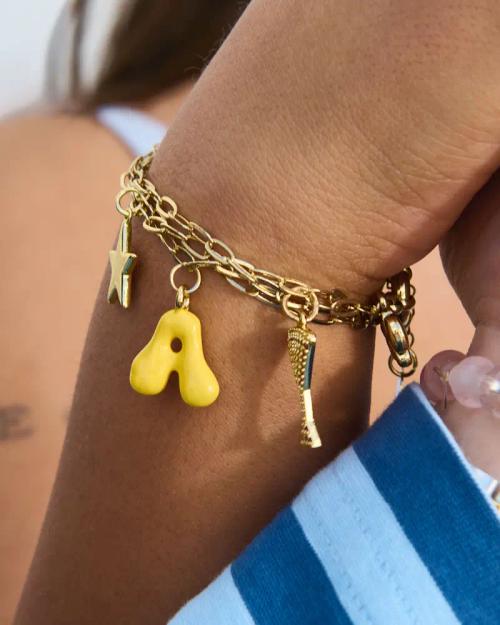
Design BraceletDesign nowDesign Bracelet
5 Charms + Chain £19.90
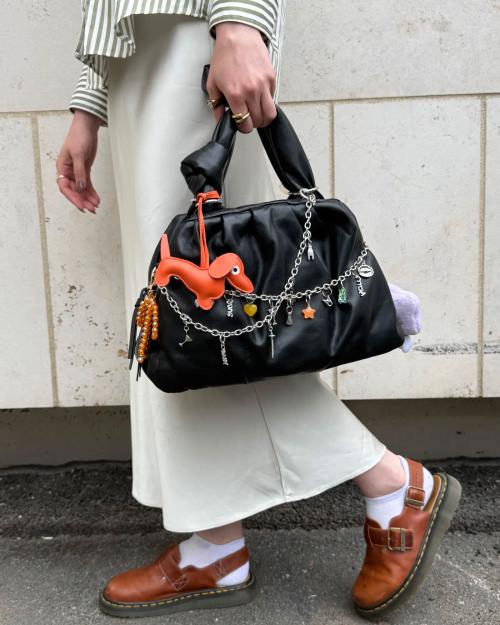
Design Bag ChainDesign nowDesign Bag Chain
Bag chain from £19.90
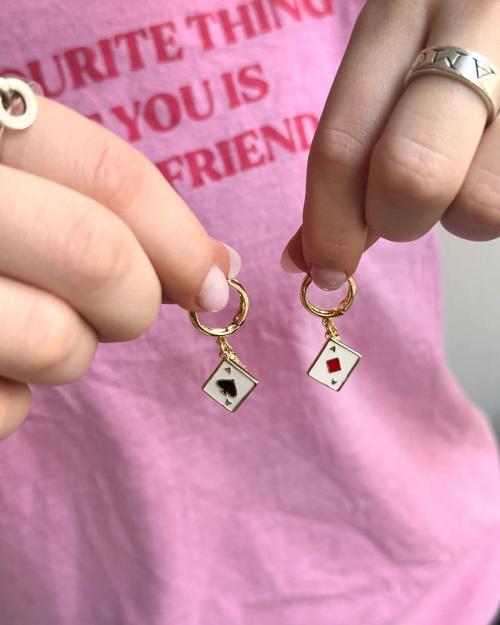
Design EarringsDesign nowDesign Earrings
Earrings from £17.90

Design BeanieDesign nowDesign beanie
1 DRMZ® + Beanie £19.90

Design TrapperDesign nowDesign trapper hat
1 DRMZ® + Trapper £29.90