DIY Tutorialeja
Luo omat asusteesi! Seuraa ohjeita ja tee tyylistäsi todellinen statement.

2:45
Friendship Bracelet Kit

8:14
3-in-1 Jewelry Kit
0:29
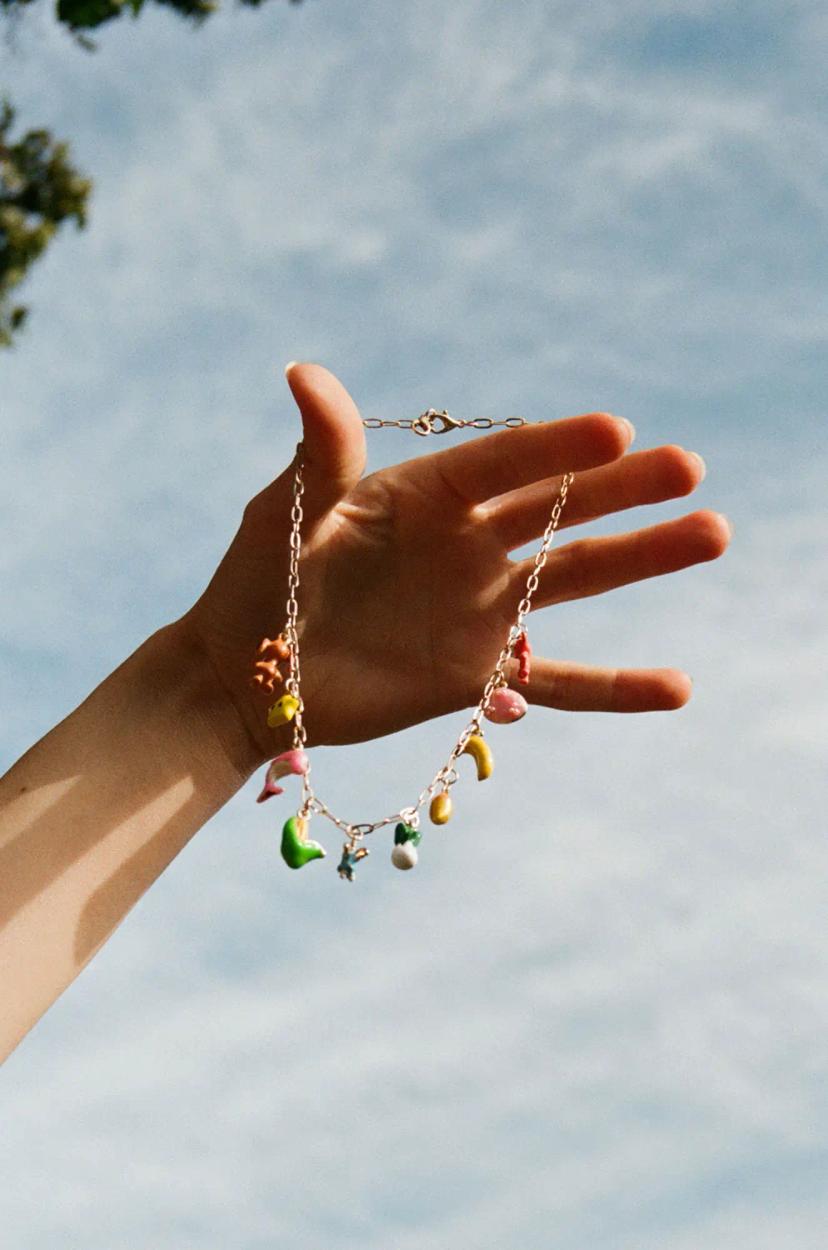
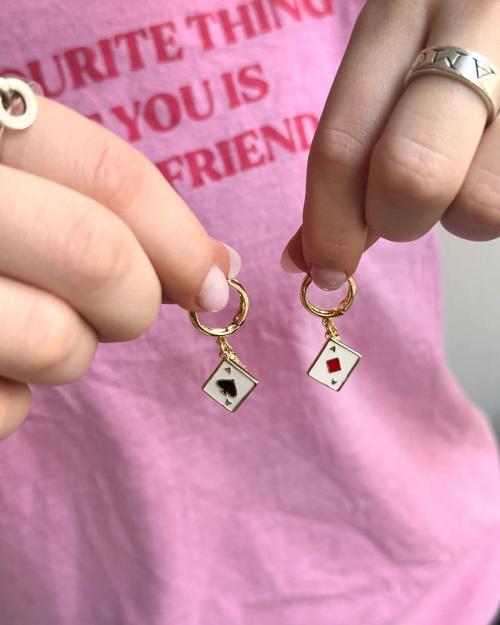
Korut charmseilla
0:21
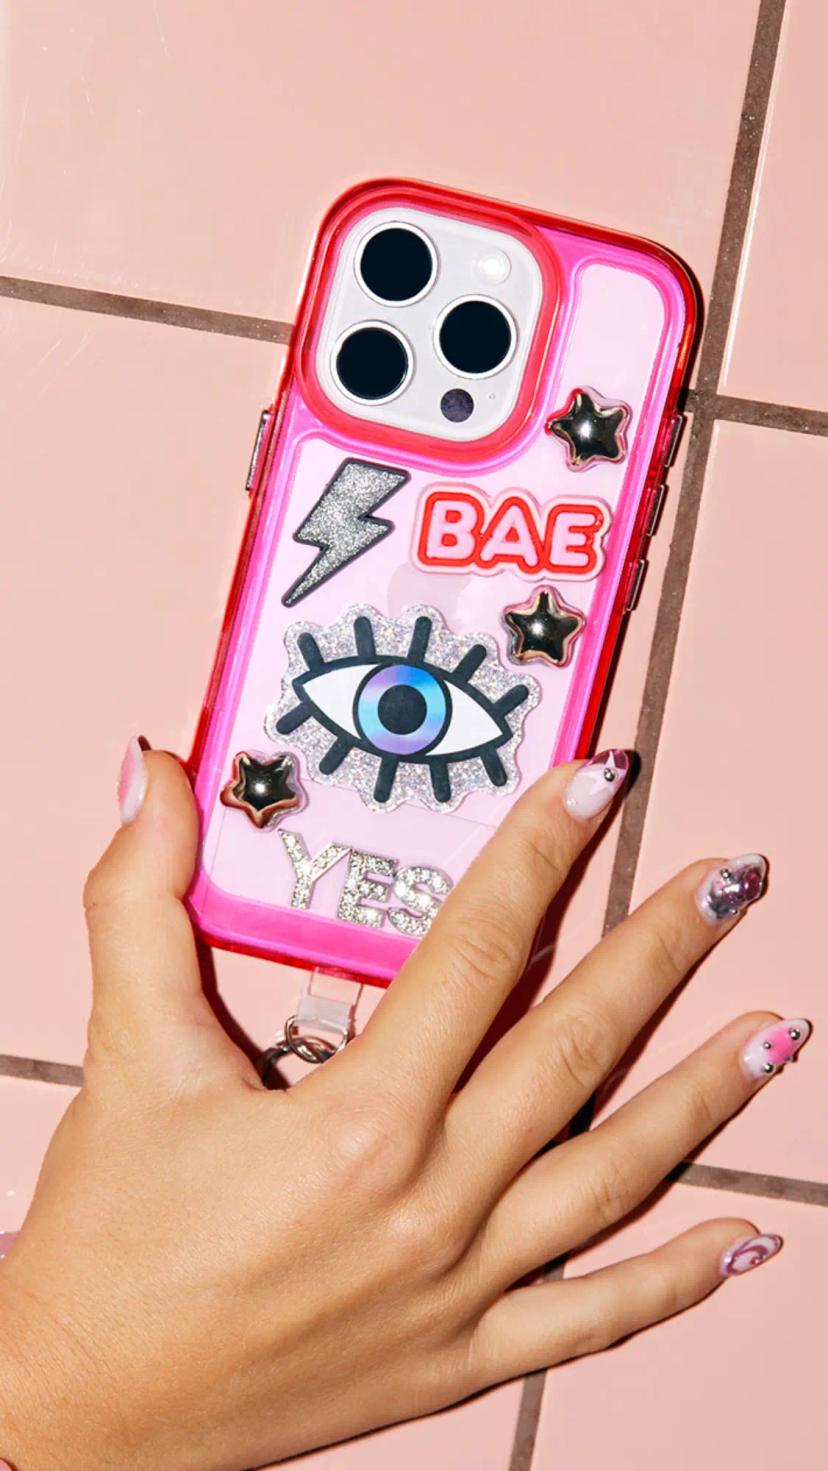
Puhelinkuoret
0:41
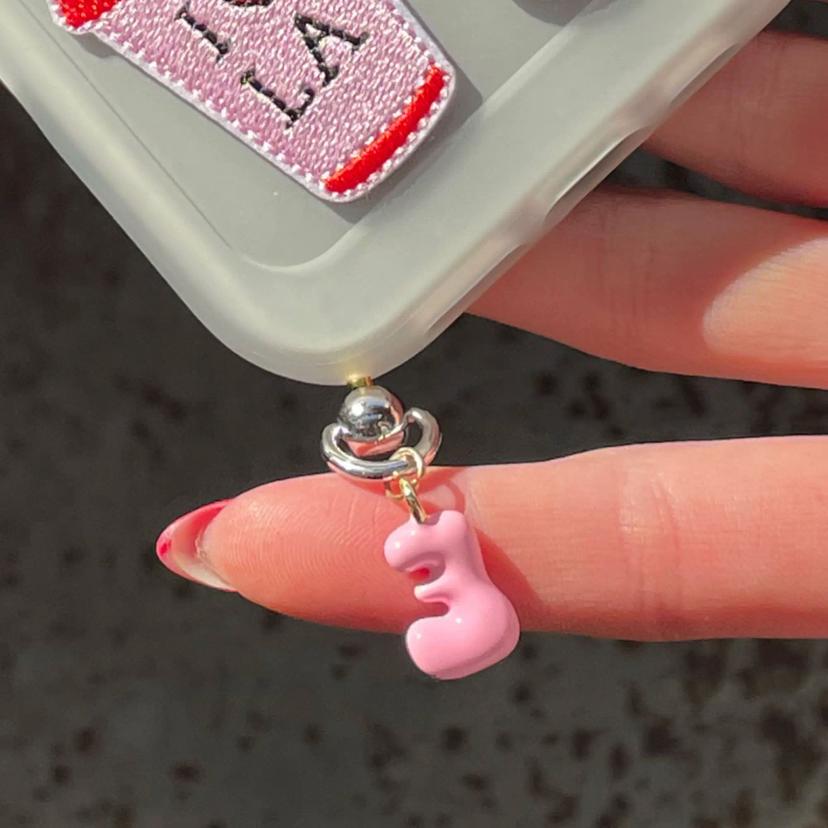
Piercing
0:16
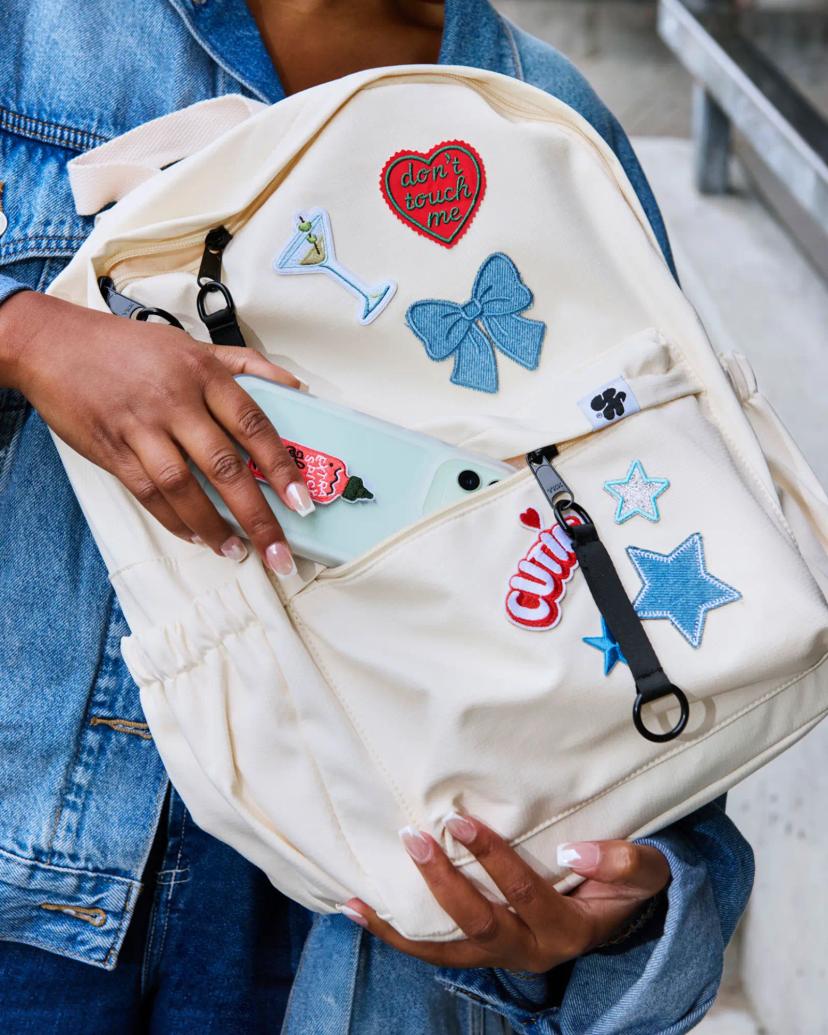
Backpack
0:35
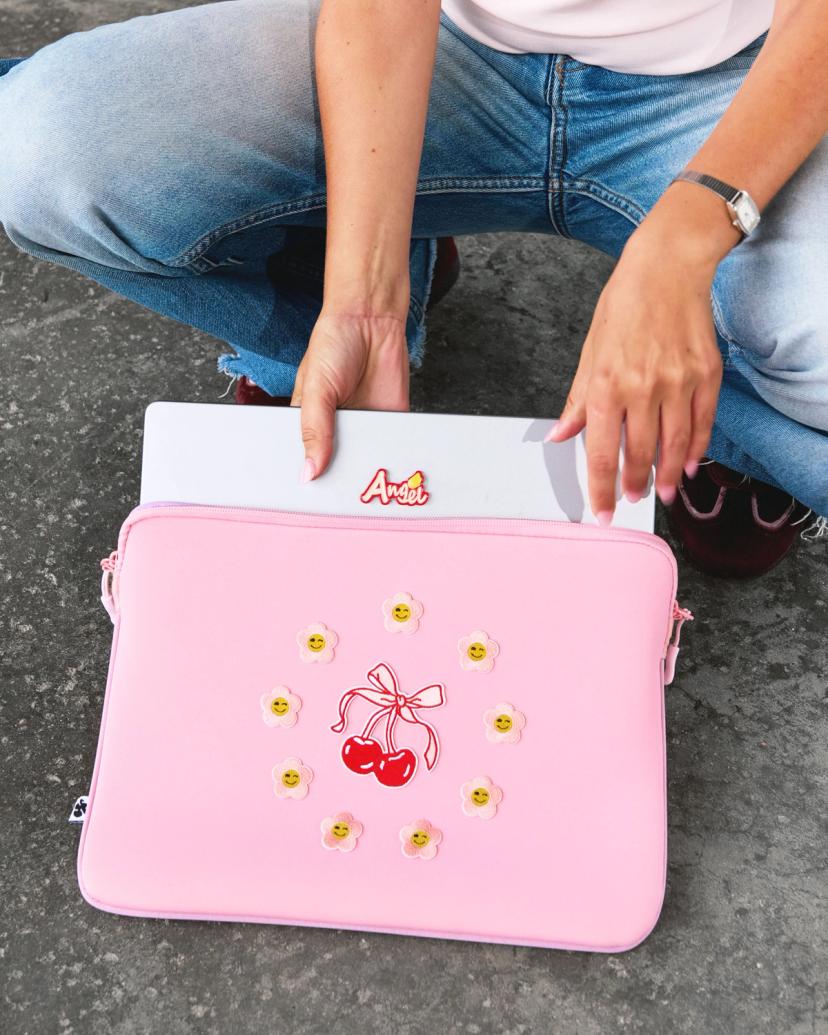
Laptop case
0:16
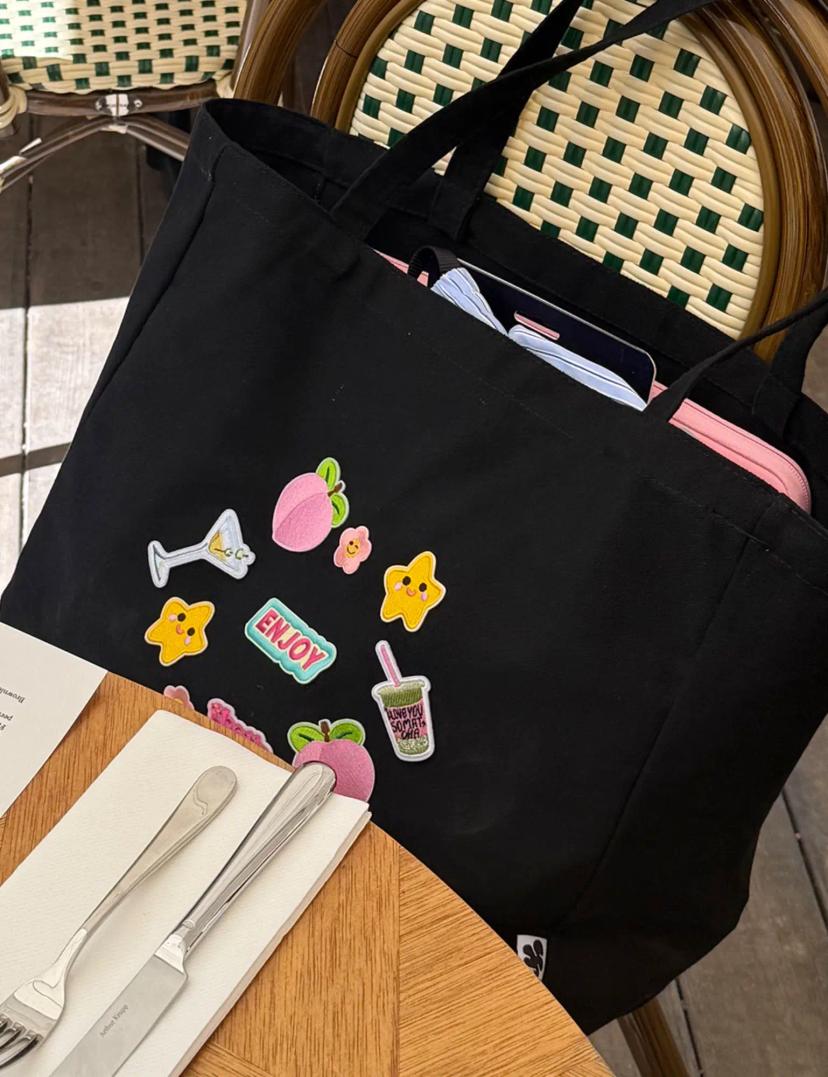
Tote Bag

0:26
Pipot & Lippikset
0:37
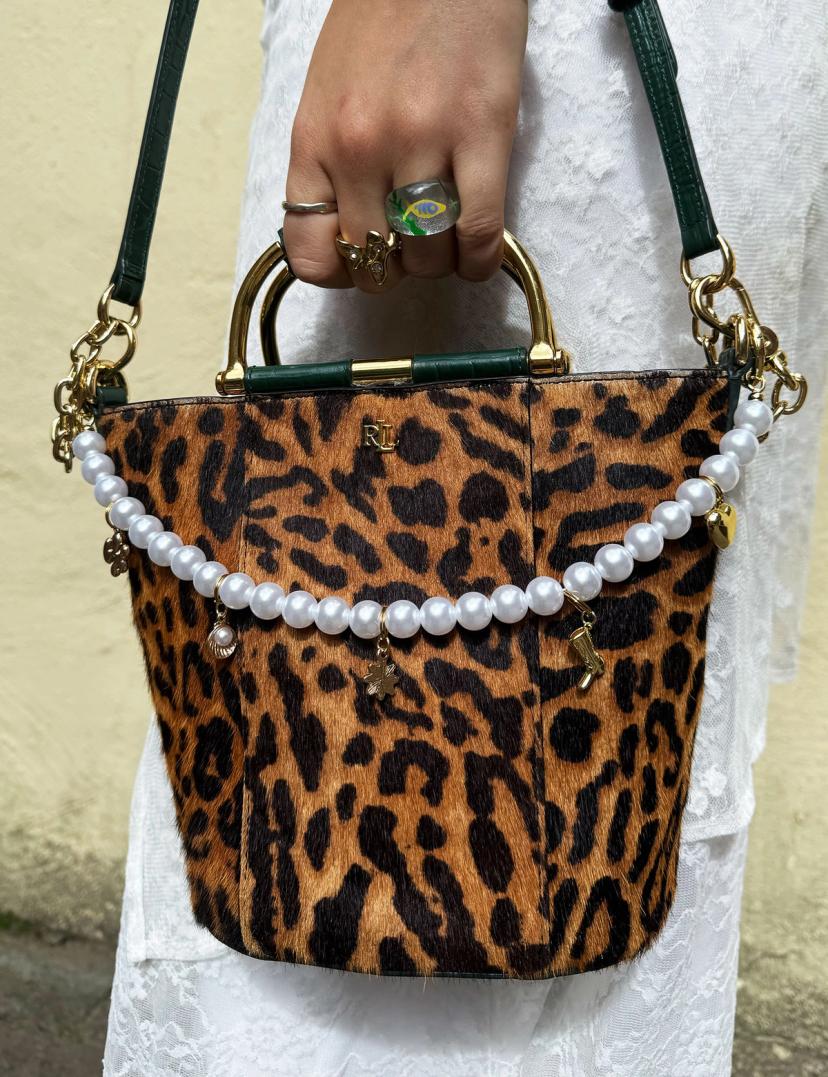
Bag Chain
1:32
Pujota itse: Bracelet & Necklace (Pro)
0:27
Pujota itse: Bracelet & Necklace (Easy)

3:19
Pujota itse: Phone Bracelet
Sinun tyylisi, sinun designisi – luo jotain, mitä kenelläkään muulla ei ole! 🌈
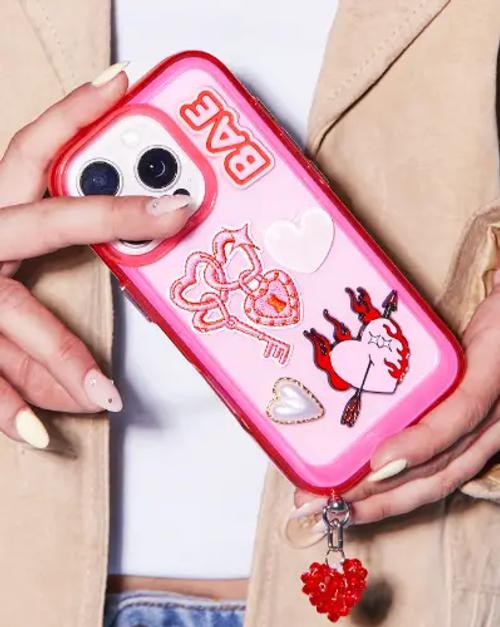
Suunnittele PuhelinkuoriSuunnittele nytSuunnittele kuori
5 DRMZ® + Kuori 35,00 €
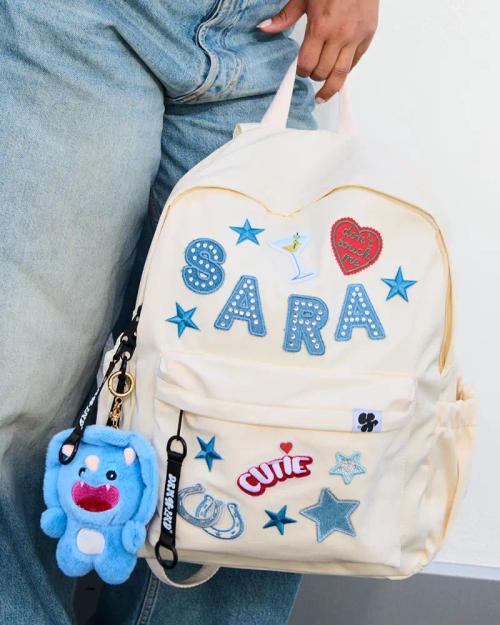
Suunnittele ReppuSuunnittele nytSuunnittele reppu
5 DRMZ® + Reppu 49,00 €
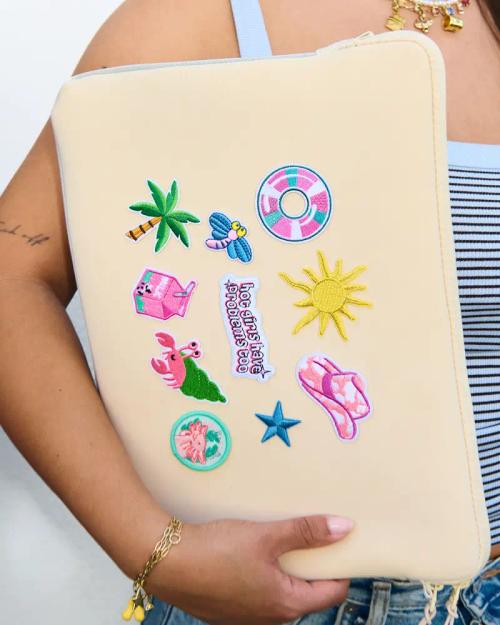
Suunnittele Laptop CaseSuunnittele nytSuunnittele laptop case
5 DRMZ® + Laptop case 39,00 €
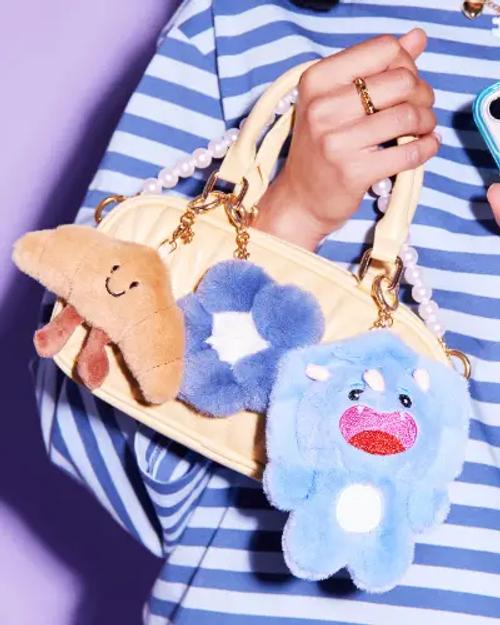
Bag CharmsBag CharmsBag Charms
Bag Charms 14,90 €
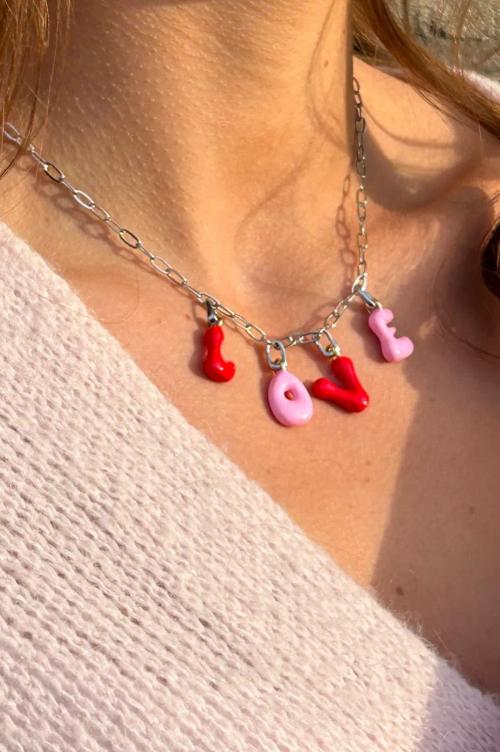
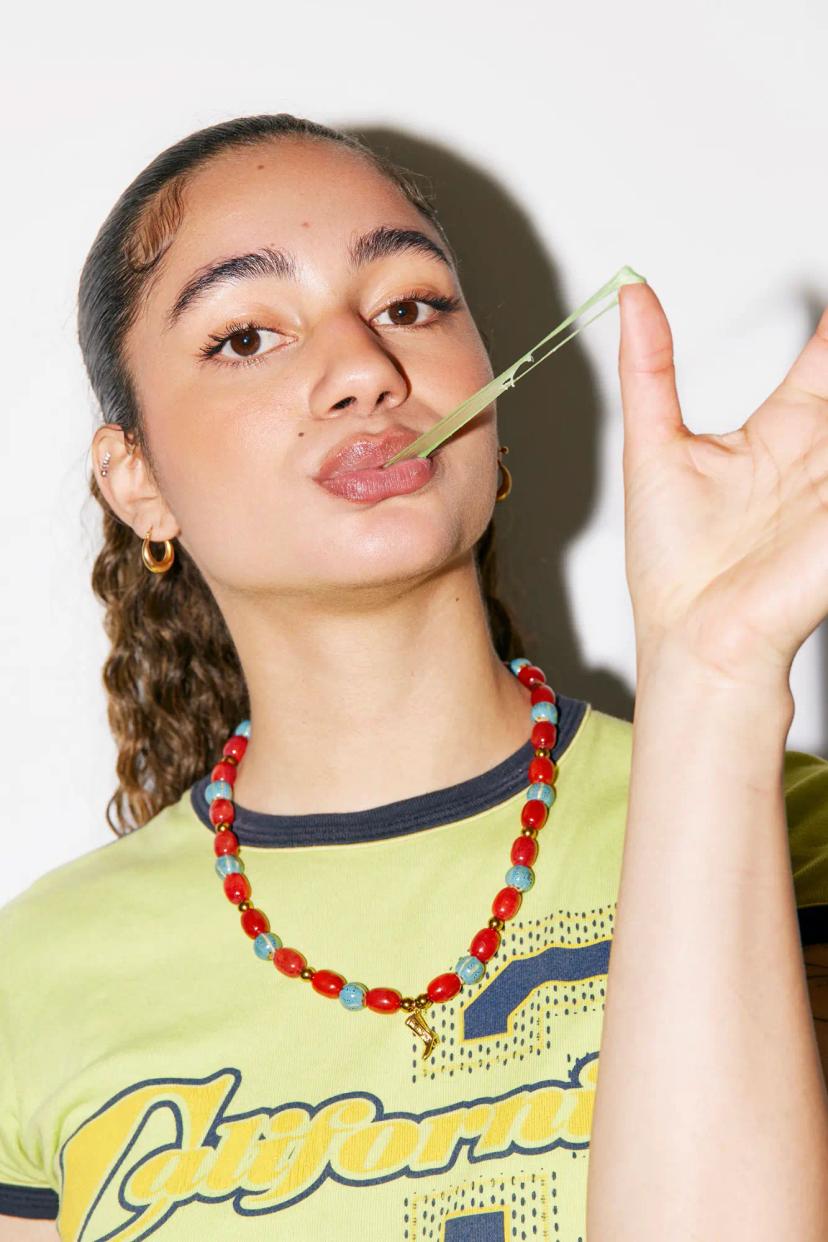
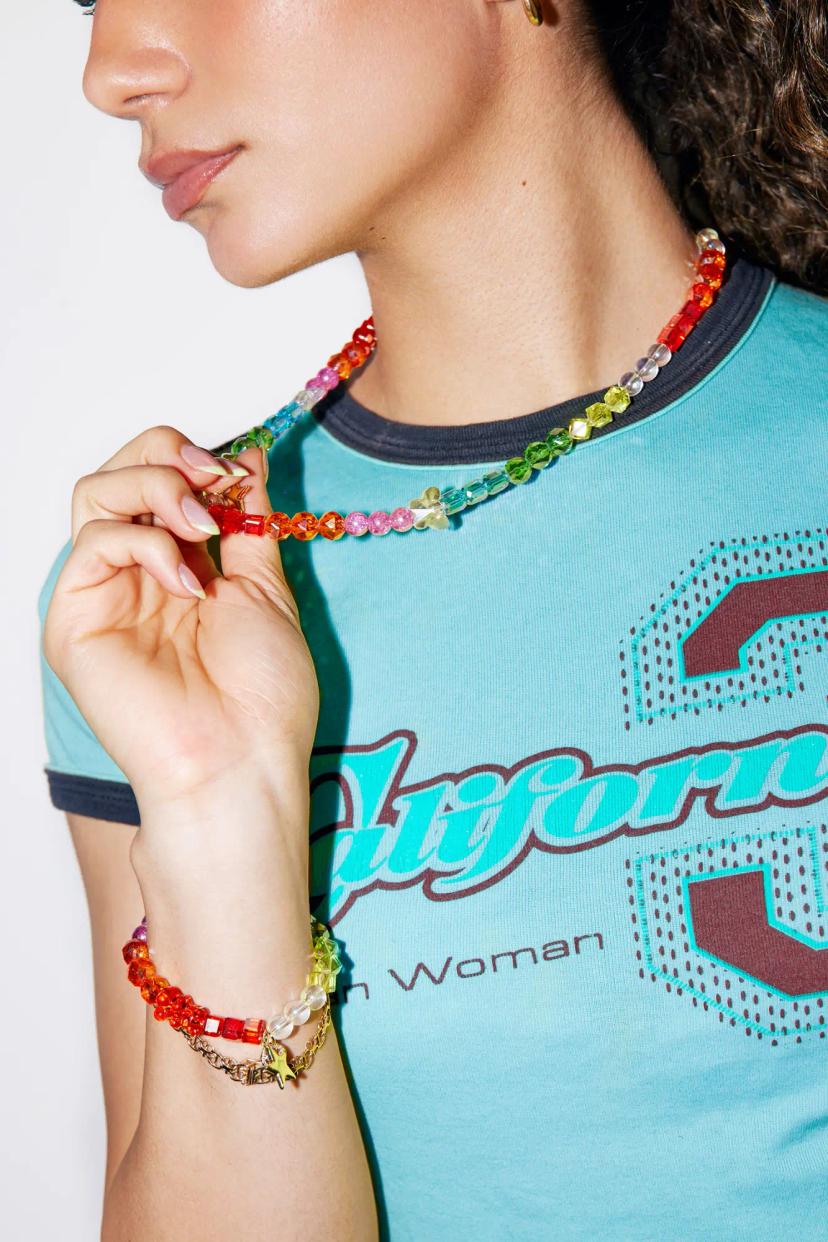
Suunnittele KaulakoruSuunnittele nytSuunnittele Kaulakoru
Kaulakoru alkaen 25,00 €
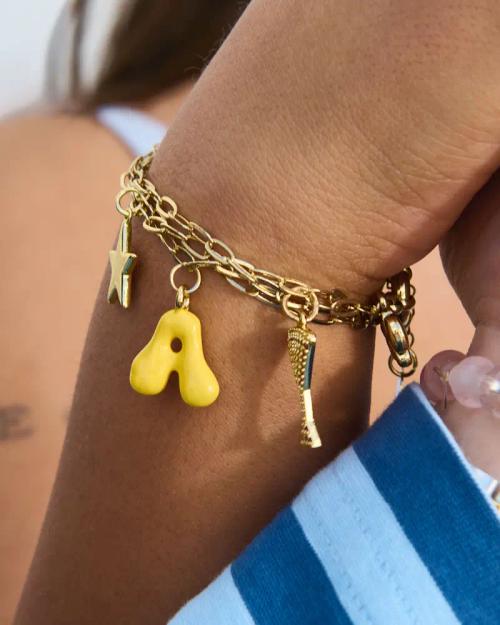
Suunnittele RannekoruSuunnittele nytSuunnittele Rannekoru
Rannekoru alkaen 20,00 €
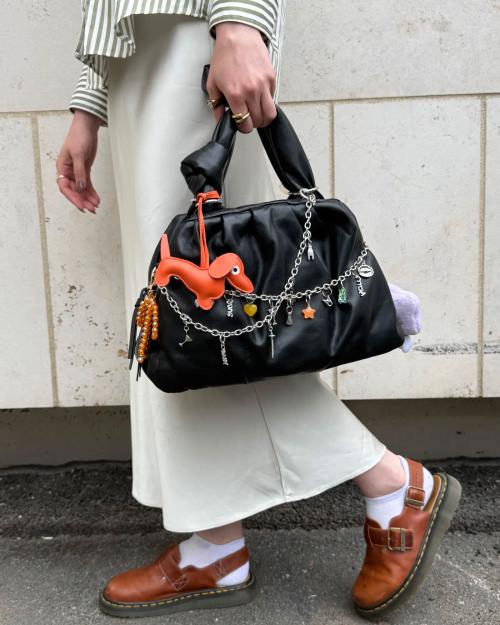
Suunnittele Bag ChainSuunnittele nytSuunnittele Bag Chain
Bag chain alkaen 20,00 €
Sunnittele KorvakorutSuunnittele nytSuunnittele Korvakorut
Korvakorut alkaen 17,90 €

Suunnittele BeanieSuunnittele nytSuunnittele beanie
1 DRMZ® + Pipo 20,00 €

Suunnittele TrapperSuunnittele nytSuunnittele trapper hat
1 DRMZ® + Trapper 30,00 €